
Gurdeep Bahra
Business Central Consultant | Kerv Digital
Have a question?
Get in touchPublished 06/07/22 under:
One of Kerv Central’s Business Central experts is explaining how to set up field monitoring…
Field monitoring can be setup on Business Central (BC) to notify users of changes to specific fields. The functionality adds a layer of security above permissions and sends automatic emails to users when a monitored field’s value is changed.
Please note: automated emailing requires the email feature in BC to be setup.
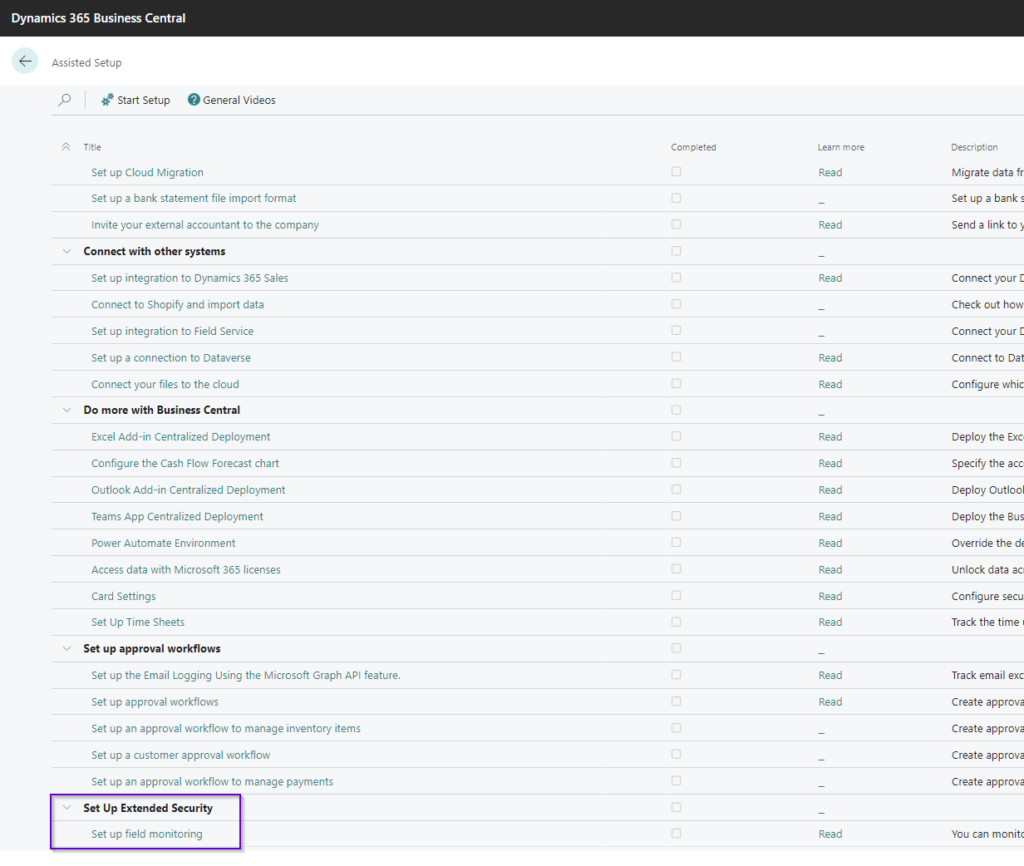
The easiest way to setup field monitoring in BC is by using the assisted setup guide, use the Tell Me function to search for Assisted Setup and hit Monitor Field Change Setup:
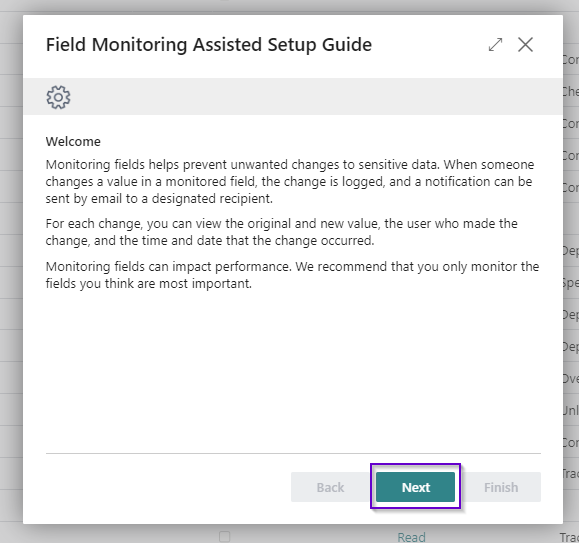
Microsoft are speeding up the setup process for loads of areas in BC using the assisted setup page, when you click Monitor Field Change Setup you will be presented with a setup wizard, much like those you used to install Microsoft Office with many years ago! Hit Next on this page:
On the next page we get to decide which fields we’d like to setup field monitoring for:
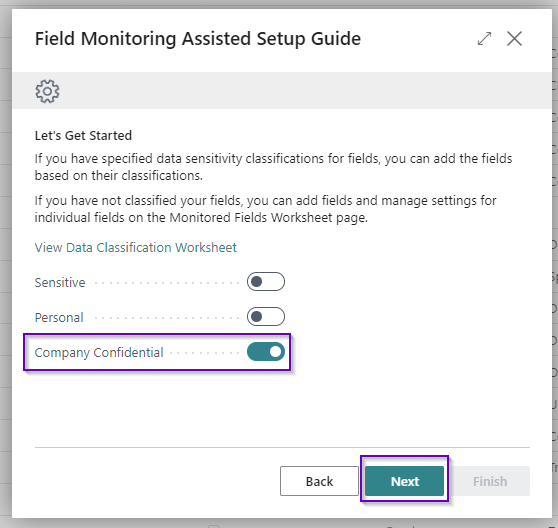
Here’s a brief explanation on the different options:
- Sensitive: Information about a person’s racial or ethnic origin, political opinions, religious beliefs, involvement with trade unions, physical or mental health, sexuality, or details about criminal offenses.
- Personal: Information that can be used to identify a person, either directly or in combination with other data or information.
- Company Confidential: Business data that we use for accounting or other business purposes, and do not want to expose to other entities. For example, this might include ledger entries or bank account information.
In this example we will go with the company confidential option – hit Next again
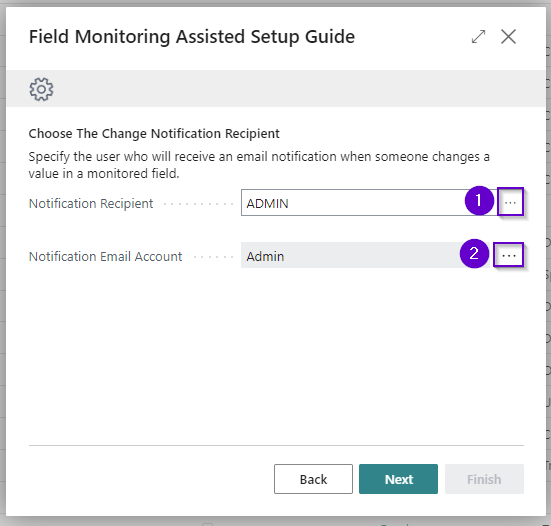
The next step is to assign the user who will receive notifications, and the email address that will receive notifications. Click on the ellipsis (or three dots!) and select the appropriate user and email address for this:
Nearly there now! Click Next on this page and you’ll be presented with the below page:
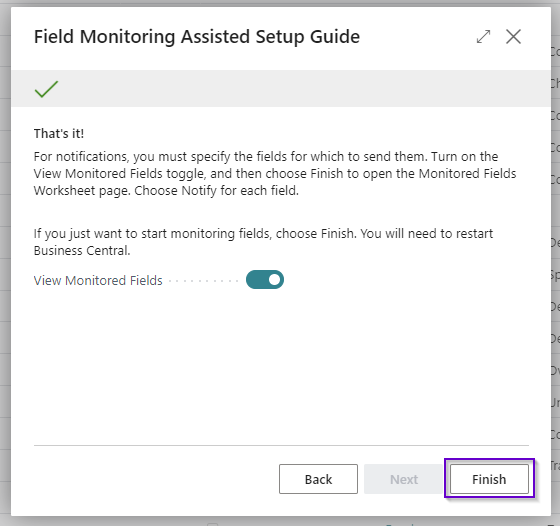
We just need to click Finish here, notice we have left the “View Monitored Fields” slider set to yes, which means when we click Finish we are presented with this page:
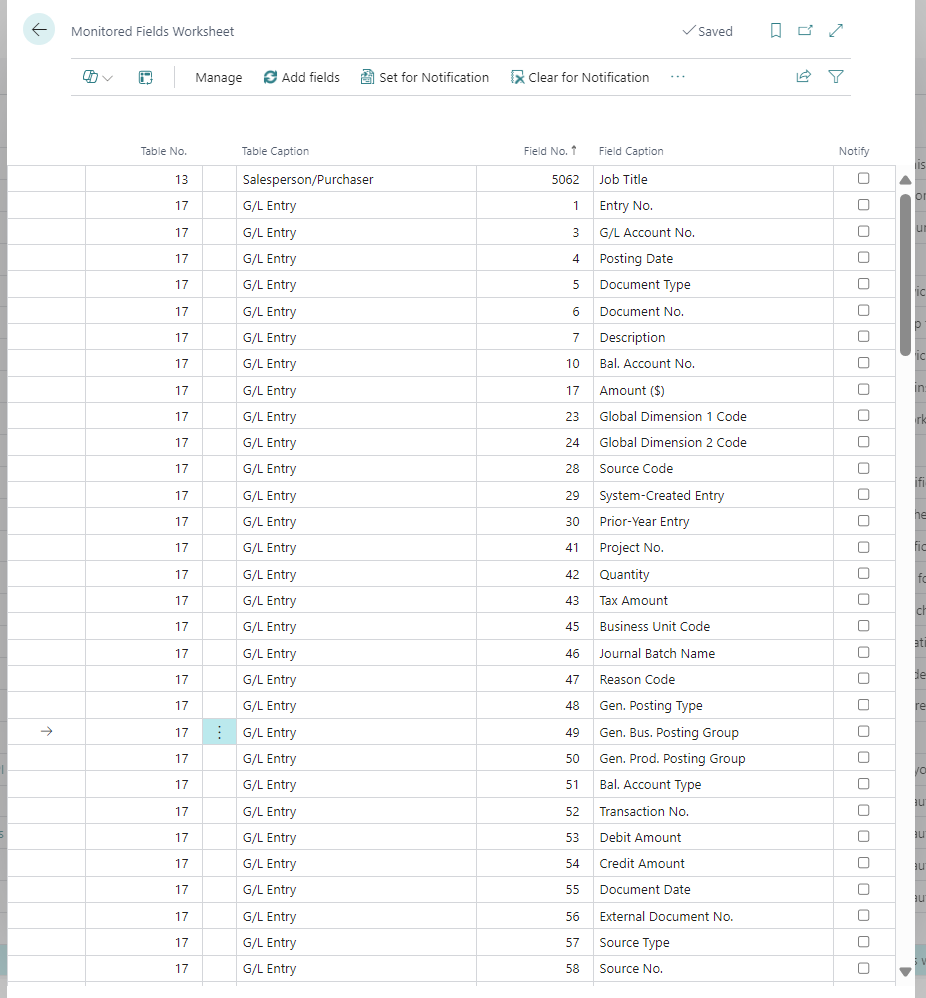
The fields added to this page are based on the selection we made during the setup wizard (personal, sensitive or company confidential) but we can add more fields to the page by simply adding a new record on this table. For fields we wish to be notified about changes, simply select the Notify tick-box as we have done below for the Vendor Bank Account (Table 288) and Bank Account No (Field 14):
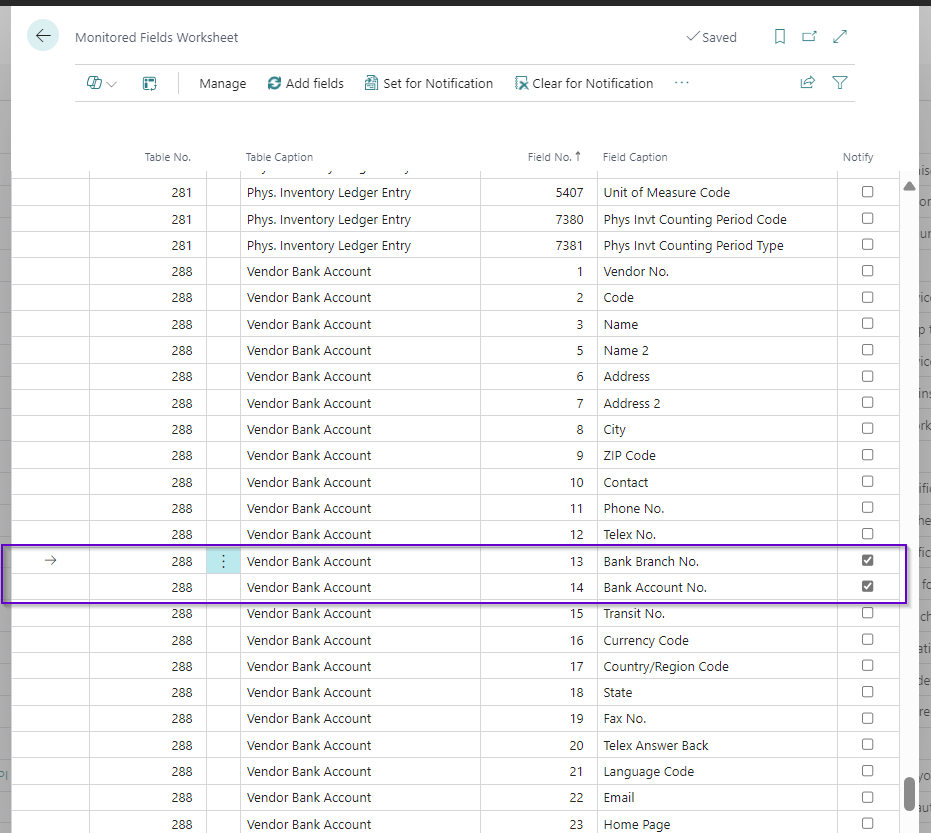
Note – users currently logged in to BC will need to log out and back in for the field monitoring to begin, but from this point forward any changes to the specified fields will result in the specified user and email address being notified!
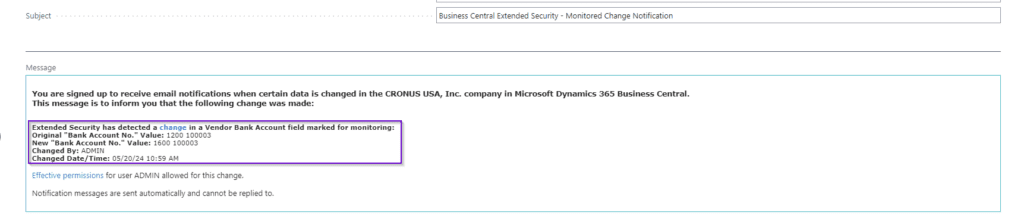
Below is a sample email which results from the changing of a vendor bank account number:
We found this a very useful out of the box tool which is easy to setup and very effective when ensuring data integrity.